[AWS]
- [AWS] 떠먹여주는 s3 buckets 만들기
- [AWS] s3 이미지,파일 덮어쓰기시 변경안됨
- [AWS] Bitbucket pipeline / aws s3 Deploy
- [AWS] CSR / SSR infura 구성도 흐름도 파악해보고 트렉픽 증가시 어떻게 처리할까?
- [AWS] Route 53 파악해보고 트렉픽 증가시 어떻게 처리할까?
- [AWS] CloudFront 캐시 완벽 가이드 - X-Cache 헤더와 HTTP 상태 코드
- [AWS] CloudFront 비용 절감 정리 Origin Shield + Price Class
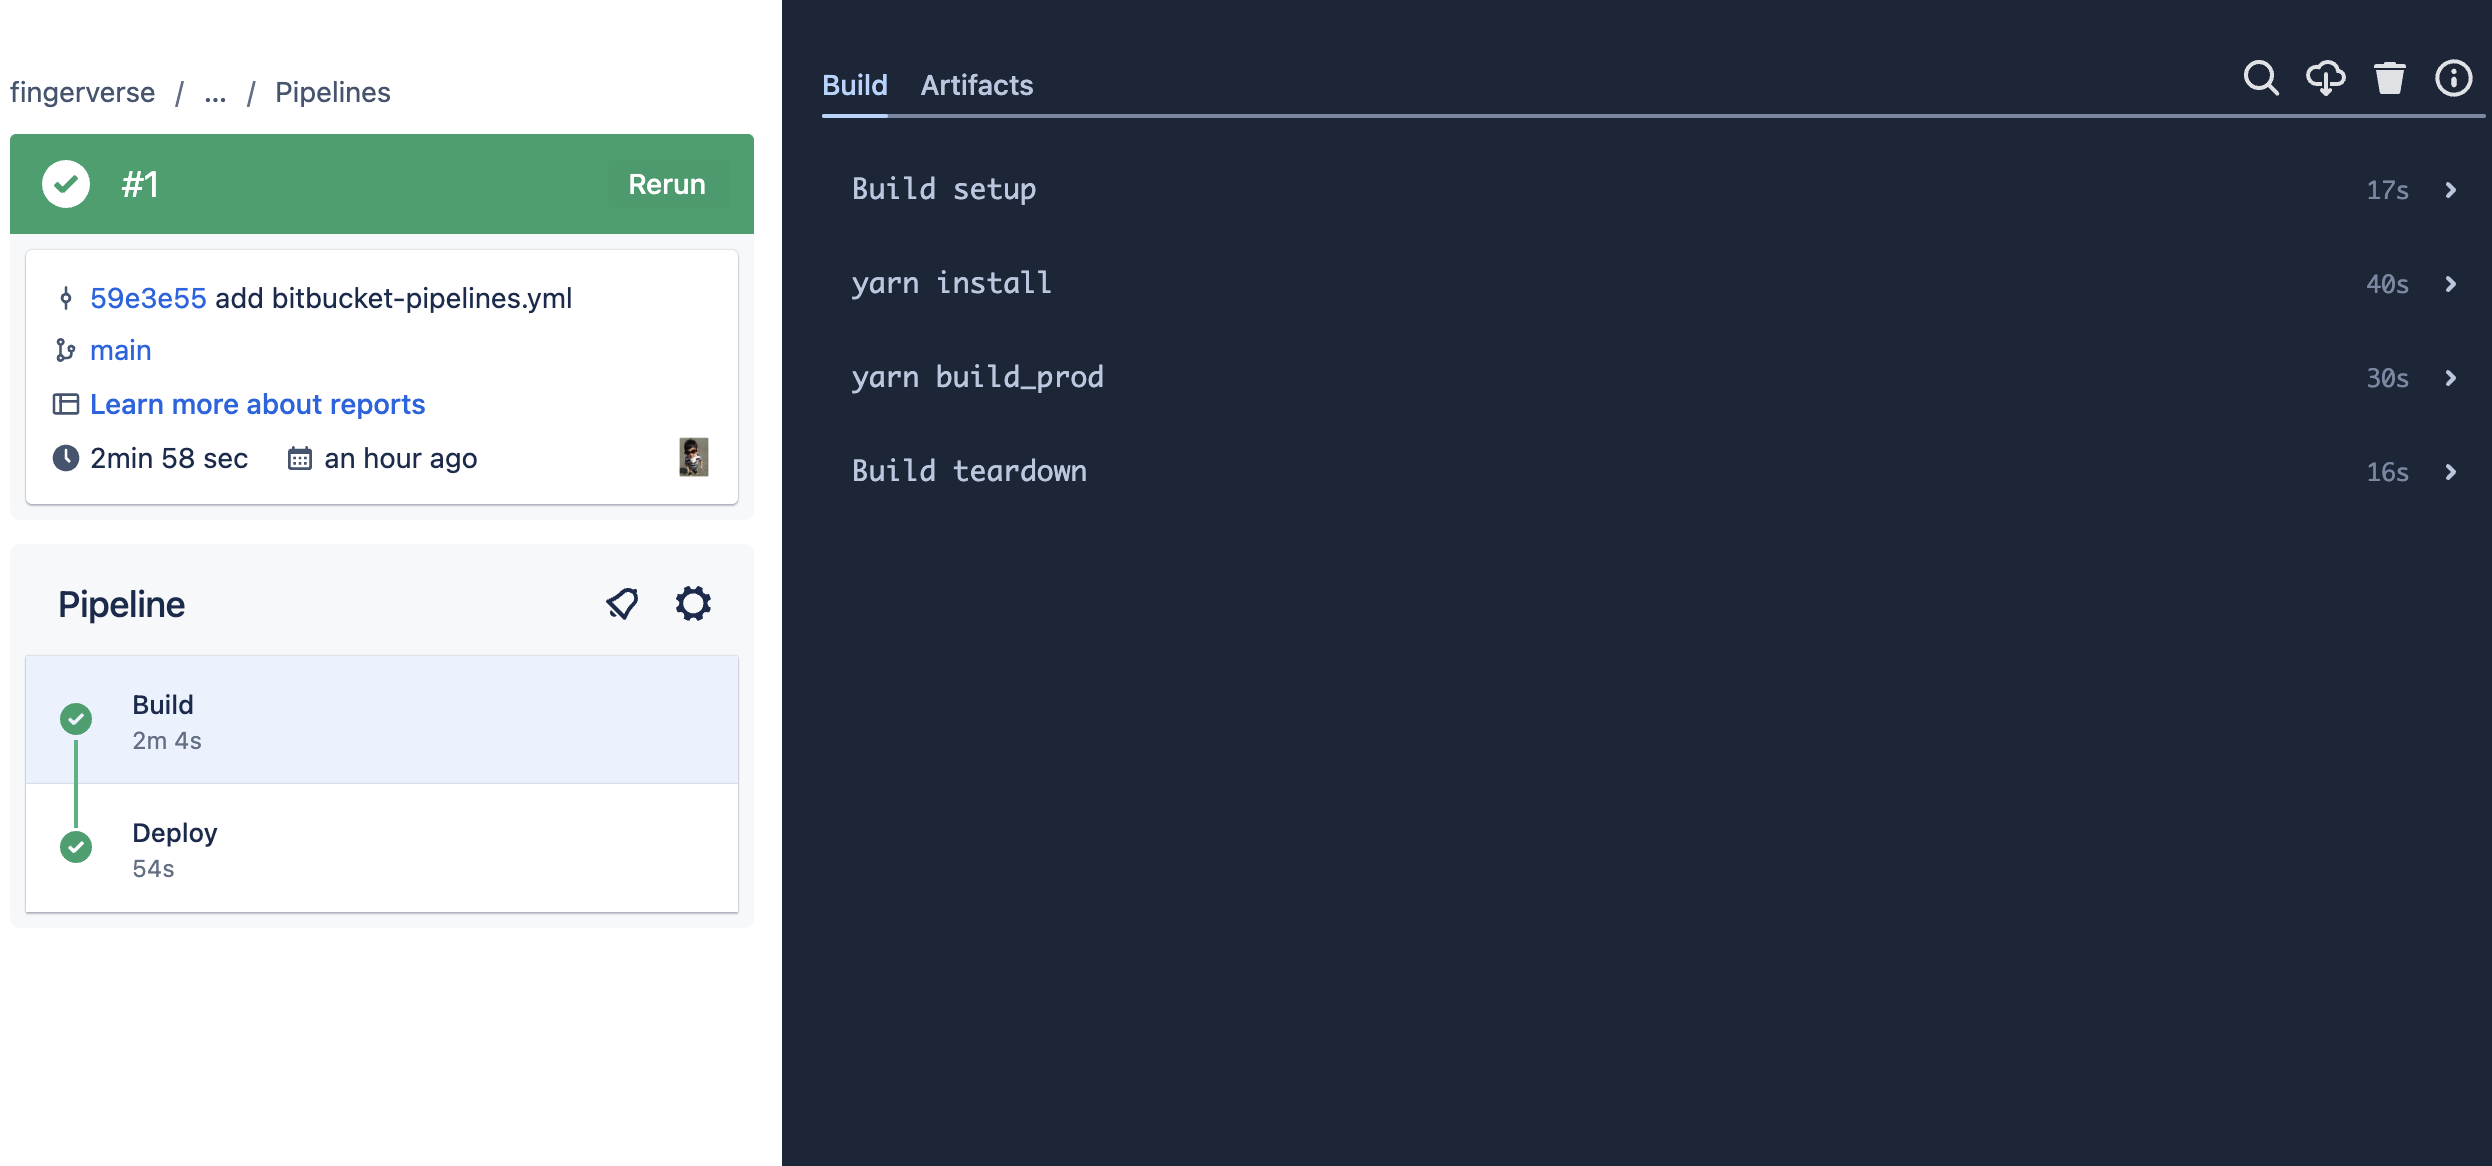
Bitbucket pipeline 이용하여 AWS S3에 배포하기
비트버킷 파이프라인을 사용하여 배포해봅시다.
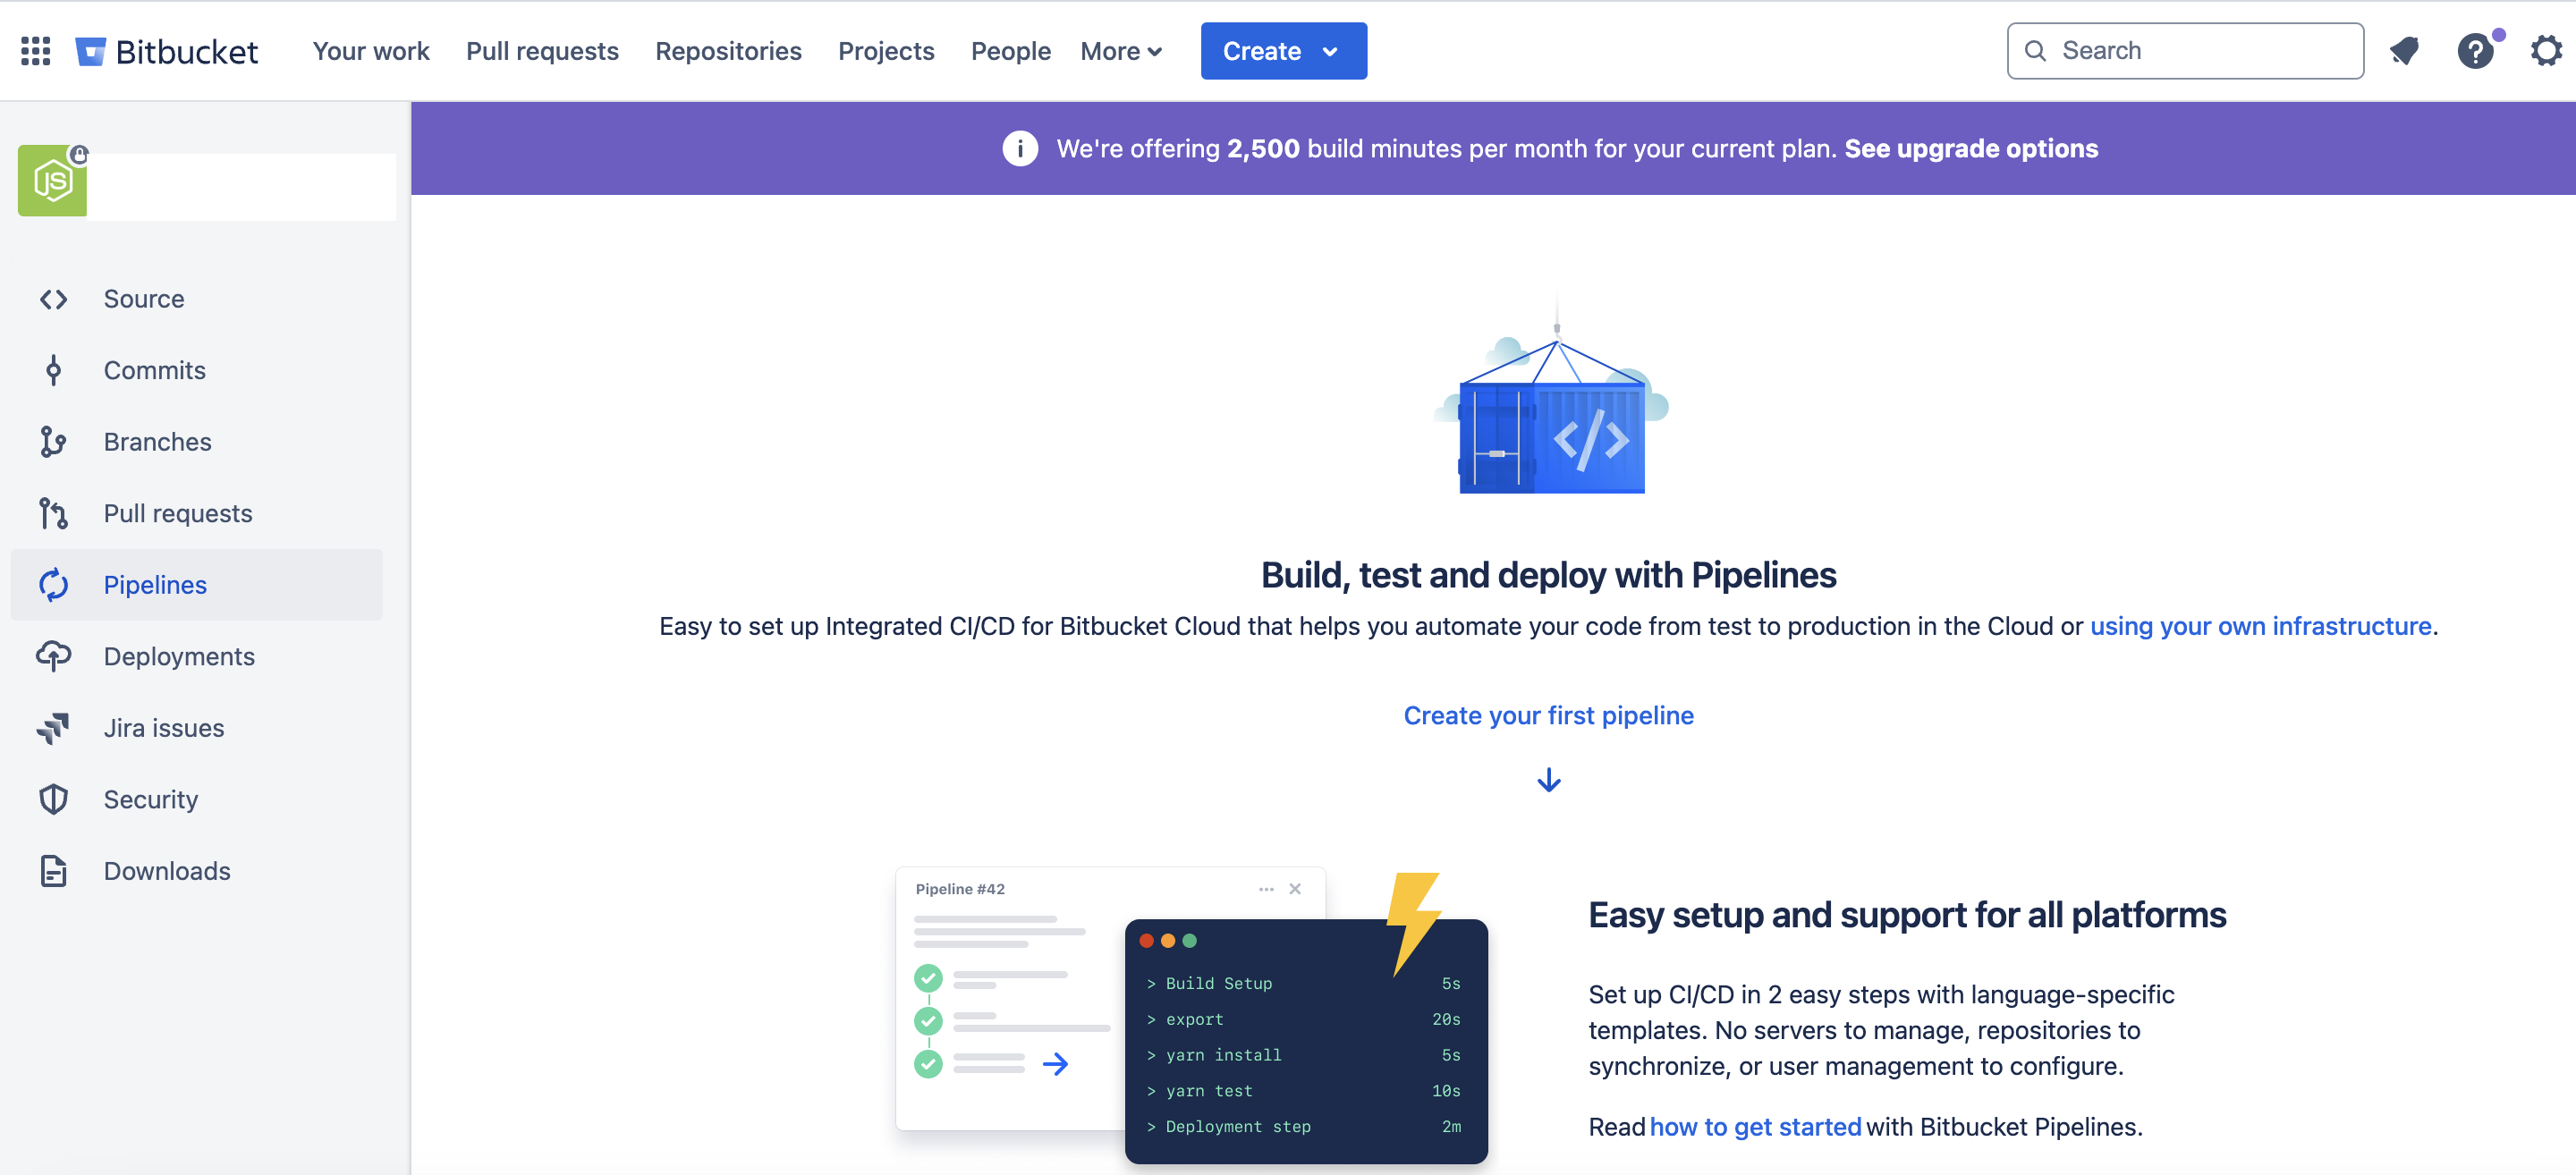
1. 비트버킷 파이프라인으로 이동
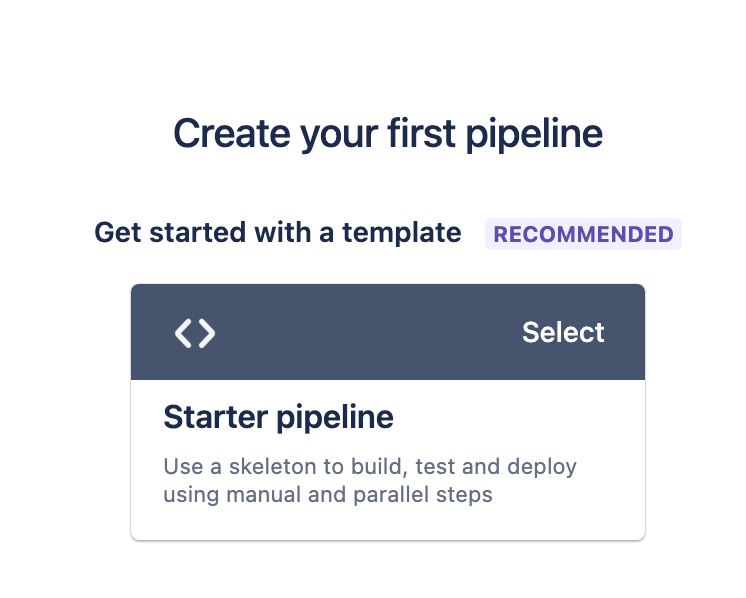
2. 원하는 옵션 선택 나는 start pipeline 설정
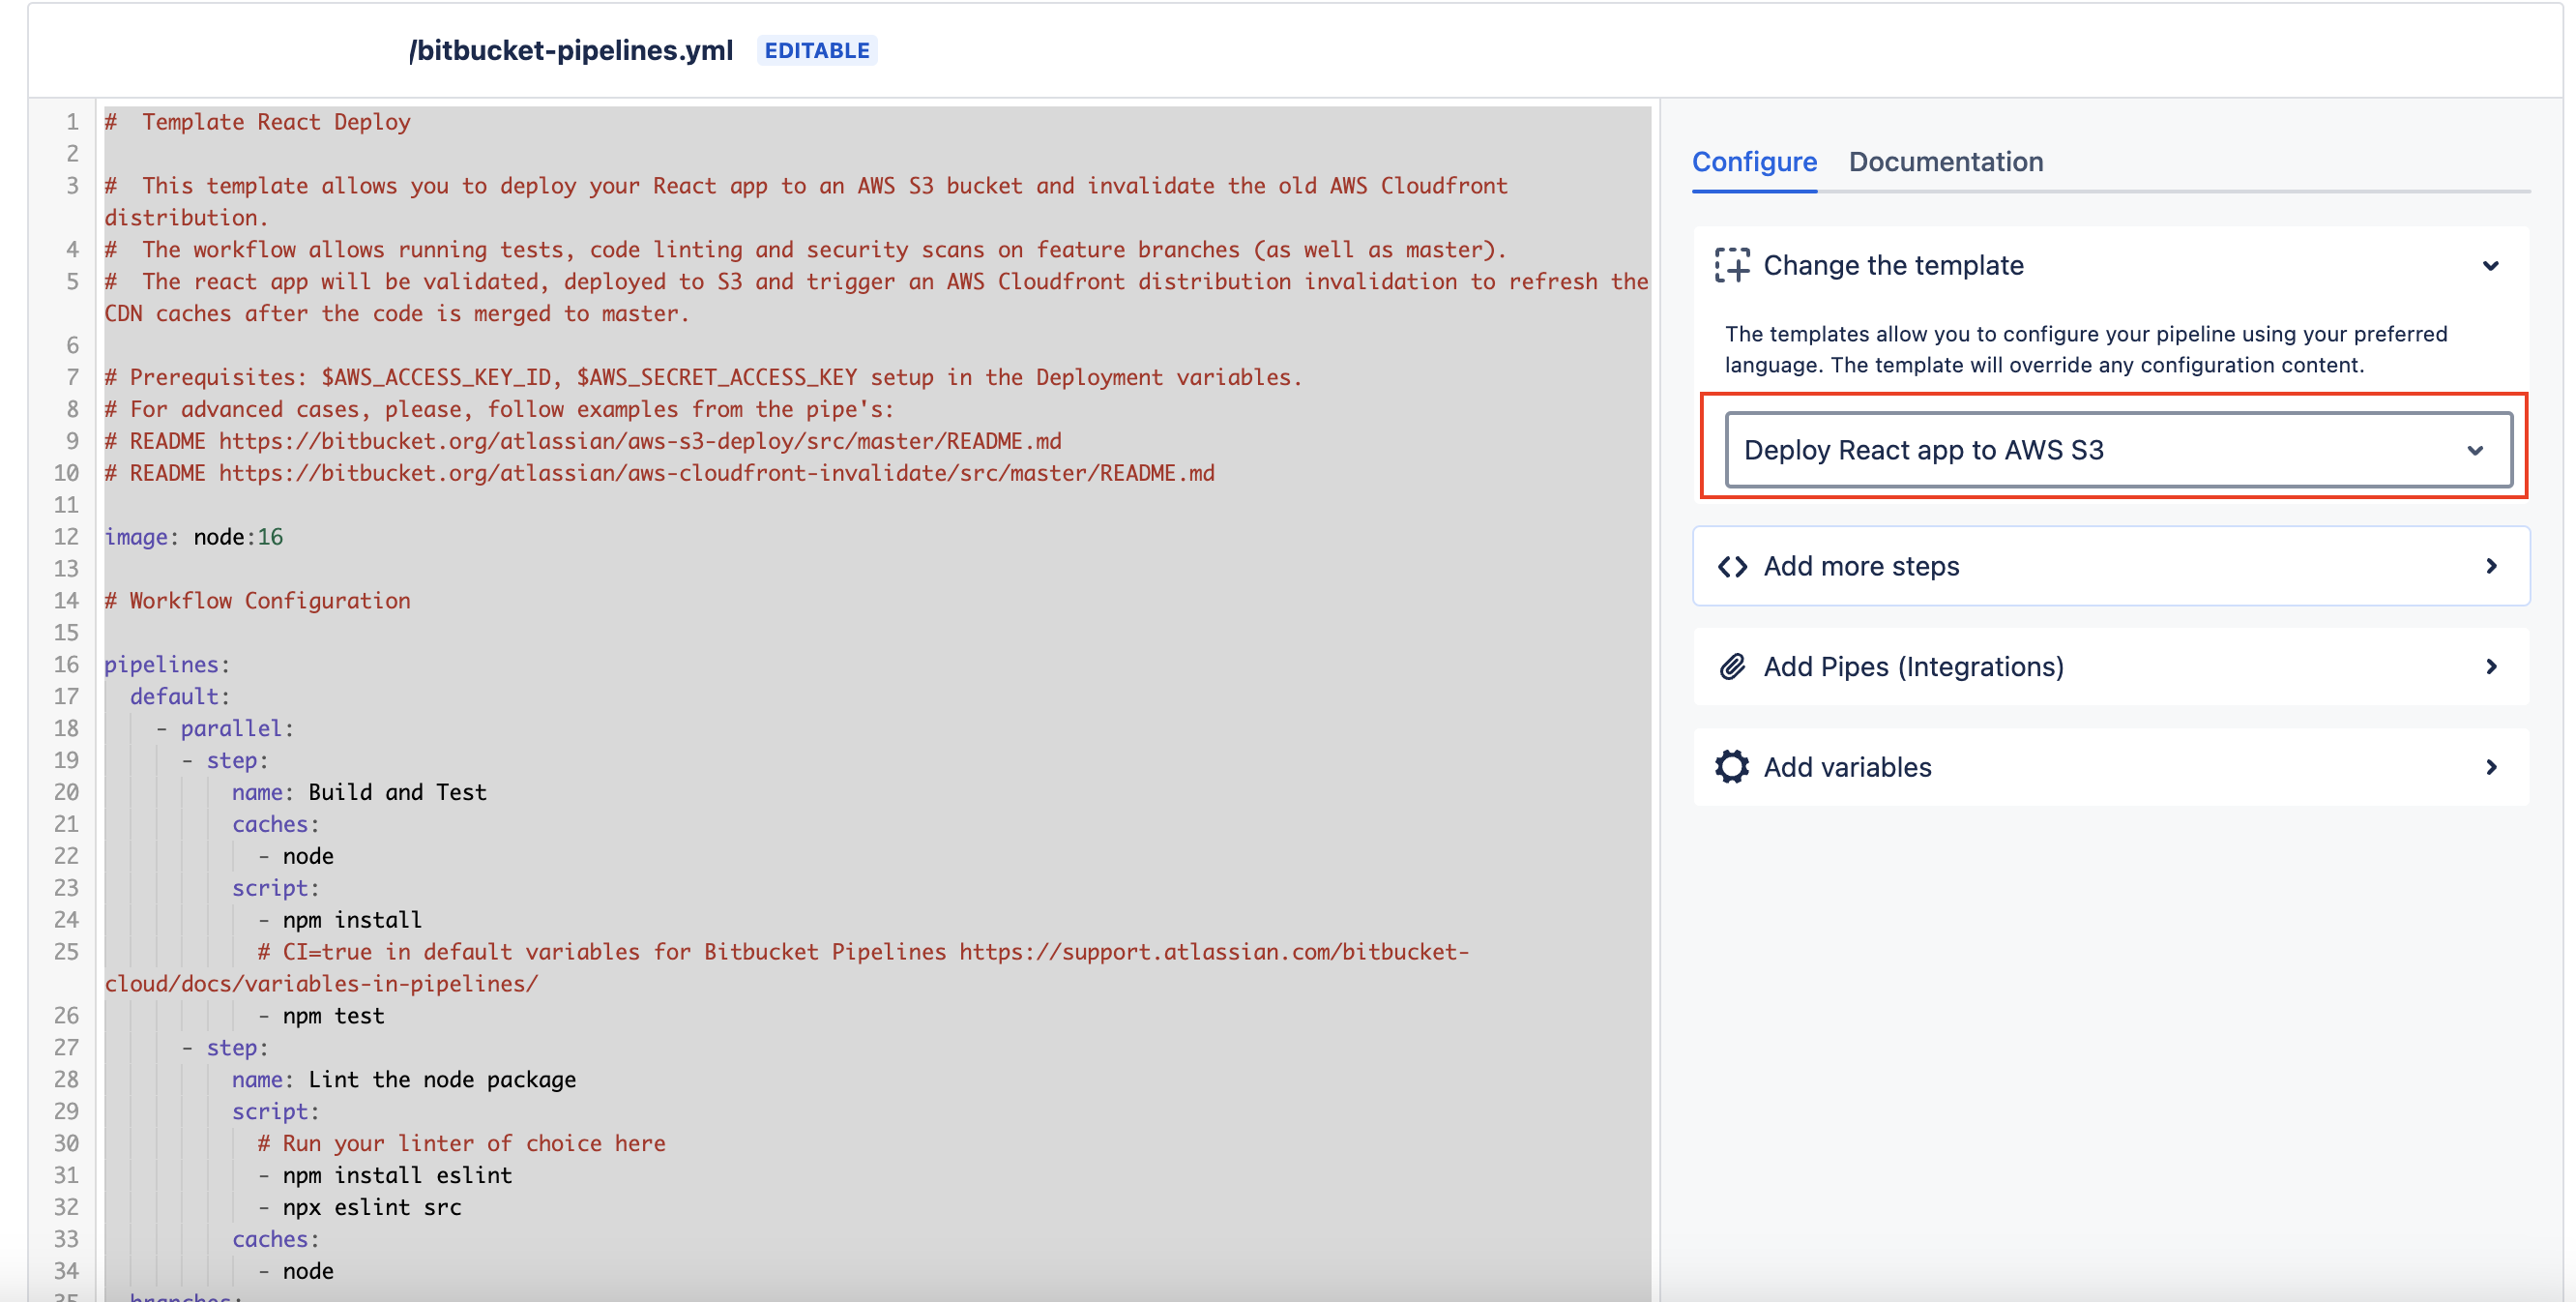
3. Deploy React app to AWS S3
나는 nuxt.js 지만 csr 빌드여서 상관없음
파일을복사하여 프로젝트 최상위치에 bitbucket-pipelines.yml명으로 저장하자
1
2
3
4
5
6
7
8
9
10
11
12
13
14
15
16
17
18
19
20
21
22
23
24
25
26
27
28
29
30
31
32
33
34
35
36
37
38
39
40
41
42
43
44
45
46
47
48
49
50
51
52
53
54
55
56
57
58
59
60
61
62
63
image: node:16

pipelines:
  default:
    - parallel:
        - step:
            name: Build and Test
            caches:
              - node
            script:
              - npm install
              # CI=true in default variables for Bitbucket Pipelines https://support.atlassian.com/bitbucket-cloud/docs/variables-in-pipelines/
              - npm test
        - step:
            name: Lint the node package
            script:
              # Run your linter of choice here
              - npm install eslint
              - npx eslint src
            caches:
              - node
  branches:
    master:
      - parallel:
          - step:
              name: Build and Test
              caches:
                - node
              script:
                - npm install
                # CI=true in default variables for Bitbucket Pipelines https://support.atlassian.com/bitbucket-cloud/docs/variables-in-pipelines/
                - npm test
                - npm run build
              artifacts:
                - build/**
          - step:
              name: Security Scan
              script:
                # Run a security scan for sensitive data.
                # See more security tools at https://bitbucket.org/product/features/pipelines/integrations?&category=security
                - pipe: atlassian/git-secrets-scan:0.5.1
      - step:
          name: Deploy to Production
          deployment: Production
          trigger: manual
          clone:
            enabled: false
          script:
            # sync your files to S3
            - pipe: atlassian/aws-s3-deploy:1.1.0
              variables:
                AWS_ACCESS_KEY_ID: $AWS_ACCESS_KEY_ID
                AWS_SECRET_ACCESS_KEY: $AWS_SECRET_ACCESS_KEY
                AWS_DEFAULT_REGION: $AWS_DEFAULT_REGION
                S3_BUCKET: "my-bucket-name"
                LOCAL_PATH: "build"
            # triggering a distribution invalidation to refresh the CDN caches
            - pipe: atlassian/aws-cloudfront-invalidate:0.6.0
              variables:
                AWS_ACCESS_KEY_ID: $AWS_ACCESS_KEY_ID
                AWS_SECRET_ACCESS_KEY: $AWS_SECRET_ACCESS_KEY
                AWS_DEFAULT_REGION: $AWS_DEFAULT_REGION
                DISTRIBUTION_ID: "123xyz"
4. yml 코드설명
1. image: node:18.12.1
- CI 환경에서 Node.js 18.12.1 버전을 사용하도록 지정합니다.
2. pipelines: branches: main:
- 파이프라인은
main브랜치에서 실행됩니다. 즉,main브랜치에 코드가 푸시될 때마다 이 파이프라인이 작동합니다.
3. - step: name: Build
- 첫 번째 스텝은 빌드입니다.
caches: node: Node.js 패키지(node_modules)를 캐싱하여 다음 빌드 시 설치 시간을 줄입니다.script:yarn install: 프로젝트에 필요한 패키지를 설치합니다.yarn build_prod: 프로덕션 빌드를 실행합니다. (이 명령은 프로젝트 설정에 따라 빌드 결과물 생성)
4. artifacts: dist/**
- 빌드 결과물(예:
dist폴더 안의 모든 파일)을 아티팩트로 저장합니다. 이 결과물은 다음 스텝에서 사용됩니다.
5. - step: name: Deploy
- 두 번째 스텝은 배포입니다.
참조 https://bitbucket.org/atlassian/aws-s3-deploy/src/master/
pipe: atlassian/aws-s3-deploy:1.6.1: Atlassian의 AWS S3 배포 파이프를 사용하여 빌드된 파일을 S3 버킷에 업로드합니다.AWS_ACCESS_KEY_ID,AWS_SECRET_ACCESS_KEY,AWS_DEFAULT_REGION,S3_BUCKET,LOCAL_PATH: AWS 자격 증명과 관련된 변수들로, S3에 접근하기 위한 키와 버킷 정보 등이 포함됩니다.
pipe: atlassian/aws-cloudfront-invalidate:0.10.1: AWS CloudFront 캐시를 무효화하여 최신 배포가 반영되도록 합니다.DISTRIBUTION_ID: CloudFront 배포 ID로, 캐시를 무효화할 CloudFront 배포를 지정합니다.
요약:
이 .yml 파일은 main 브랜치에 코드가 푸시되면, Node.js 프로젝트를 빌드한 후 결과물을 AWS S3에 업로드하고, CloudFront의 캐시를 무효화하는 파이프라인을 정의하고 있습니다.
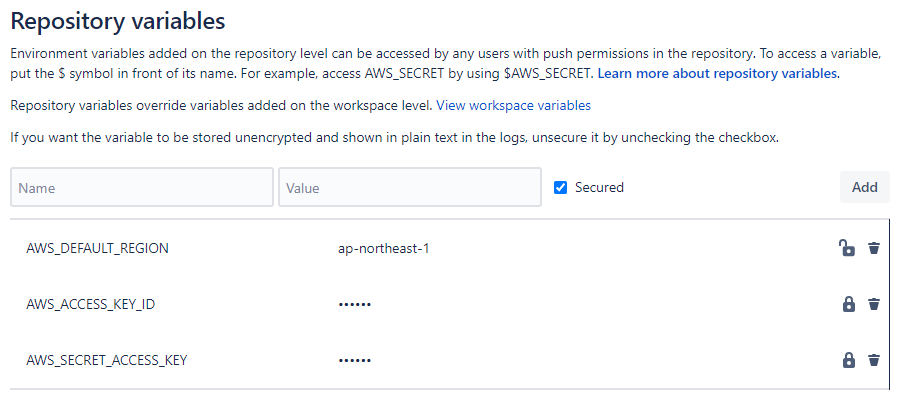
5. AWS키 설정해주기
- 경로 Repository settings -> Repository variables
- repository에 환경변수를 key와 value를 Add 해준다.
- 빌드 된다